

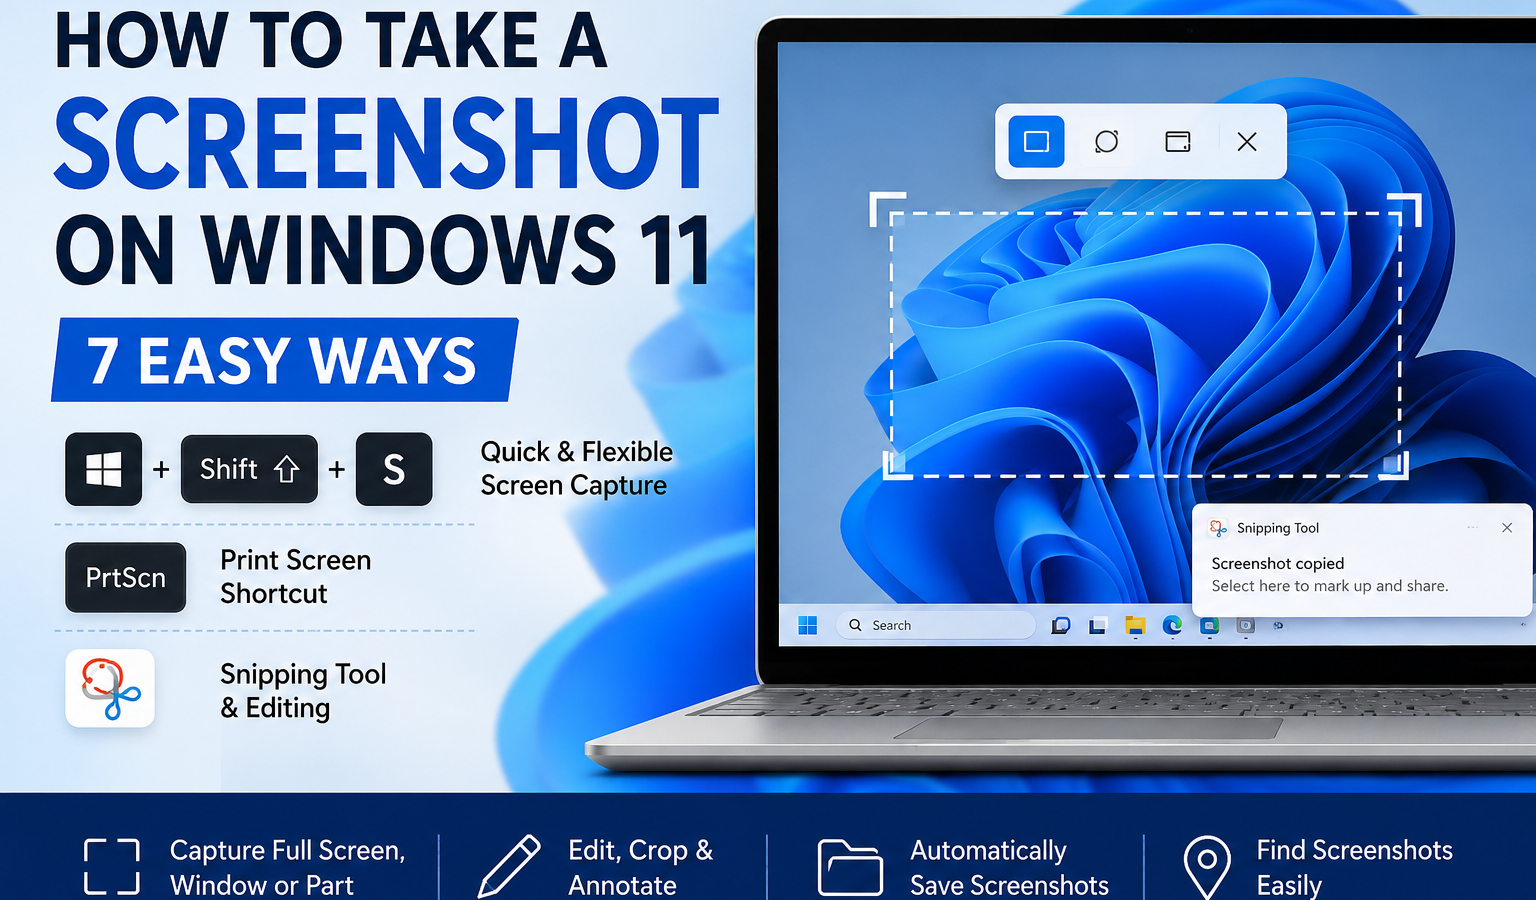
Taking a screenshot is one of the simplest ways to save what is currently displayed on your computer. Whether you need to capture an error message, save an online receipt, share part of a webpage, or show someone what is happening on your PC, Windows 11 has several built-in screenshot options.
The easiest way to learn how to take a screenshot on Windows 11 is to use Windows + Shift + S. It opens the Snipping Tool overlay and lets you capture the entire screen, a specific window, or only part of the screen. Windows 11 also supports the Print Screen key and the Windows + Print Screen shortcut for quick full-screen captures.
In this guide, you’ll learn how to screenshot on Windows 11 using keyboard shortcuts and built-in tools, where your screenshots are saved, and how to fix common screenshot problems.
Quick Answer: How to Take a Screenshot on Windows 11
The fastest method is:
- Press Windows key + Shift + S.
- Choose the type of capture you want.
- Drag over the area you want to capture.
- Windows copies the screenshot to your clipboard and opens the capture in Snipping Tool.
- From there, you can edit, copy, share, or save the image.
For an automatically saved full-screen screenshot, press Windows key + PrtScn. Windows saves the image in Pictures > Screenshots.
How to Take a Screenshot on Windows 11 Using Windows + Shift + S
For most people, Windows + Shift + S is the best all-purpose Windows 11 screenshot shortcut.
It opens the Snipping Tool capture overlay, allowing you to choose between different capture modes. Microsoft says this shortcut captures a selected region and places the screenshot on the clipboard, where you can open it in Snipping Tool to edit, share, or mark it up.
Steps
- Press Windows + Shift + S at the same time.
- Your screen will dim slightly and the Snipping Tool capture controls will appear.
- Choose a capture mode.
- Select the area, window, or screen you want to capture.
- Click the screenshot notification that appears if you want to edit or save the image.
Depending on the selected mode, you can create a rectangular, freeform, window, or full-screen capture.
When should you use Windows + Shift + S?
This method is ideal when you only need a small portion of the screen. For example, you can capture an error message from an application without including your entire desktop.
It’s also useful when you’re writing tutorials, sending technical support screenshots, or sharing a specific section of a webpage.
How to Take a Screenshot on Windows 11 With the Print Screen Key
The Print Screen, PrtSc, or PrtScn key is another quick way to capture your screen.
In current Windows 11 behavior, pressing PrtScn can open screen snipping so you can select a region. Microsoft also documents Print Screen as a screenshot shortcut that copies the screen capture to the clipboard. The exact behavior can depend on your Windows settings.
Use Print Screen to capture the full screen
Press:
PrtScn
The screenshot is copied to your clipboard. You can then open Paint, Word, an email, or another application and press Ctrl + V to paste it.
If your Print Screen key opens the Snipping Tool instead, that’s also normal on current Windows 11 installations. You can change the Print Screen behavior under Settings > Accessibility > Keyboard.
Capture only the active window with Alt + Print Screen
Need to capture one application instead of your whole desktop?
- Click the window you want to capture.
- Press Alt + PrtScn.
- Open Paint or another app.
- Press Ctrl + V to paste the screenshot.
Microsoft lists Alt + PrtScn as the shortcut for capturing the active window and copying it to the clipboard.
This is particularly useful when you have several applications open and don’t want to crop the rest of the desktop afterward.
How to Take a Screenshot on Windows 11 Using the Snipping Tool
The Snipping Tool Windows 11 app gives you more control than a basic keyboard shortcut.
Microsoft’s Snipping Tool supports four main screenshot modes:
- Rectangle: Select a rectangular area.
- Freeform: Draw around an area manually.
- Window: Capture a specific open window.
- Full screen: Capture the entire display.
It can also edit, annotate, crop, save, and share screenshots.
How to use Snipping Tool
- Open the Start menu.
- Search for Snipping Tool.
- Open the app.
- Choose the type of snip you want.
- Select New if required.
- Capture the content on your screen.
- Use the editing tools if necessary.
- Save the screenshot.
You can also open the screenshot overlay quickly by pressing Windows + Shift + S.
Why use Snipping Tool?
Snipping Tool is the best option when you want to capture something and edit it immediately. You can crop an image, draw attention to important information, add markings, and then save or share the result.
On supported Copilot+ PCs, Microsoft’s current Snipping Tool also includes additional AI-related features such as Perfect Screenshot and Color Picker. These features are hardware-dependent and are not available on every Windows 11 PC.
How to Capture the Entire Screen
There are several ways to how to screenshot the entire screen in Windows 11.
Method 1: Windows + PrtScn
Press:
Windows + PrtScn
Windows captures the complete screen and saves the image as a file in the Screenshots subfolder inside Pictures.
This is usually the most convenient method when you want a file immediately rather than just a screenshot in the clipboard.
Method 2: PrtScn
Press PrtScn and then paste the screenshot into Paint or another application with Ctrl + V.
Method 3: Snipping Tool
Open Snipping Tool and select Full screen. The app captures the entire display and lets you edit or save the result.
How to Screenshot a Specific Window
If you only want to capture an application window, Windows 11 gives you several options.
Option 1: Alt + PrtScn
Select the window and press:
Alt + PrtScn
The active window is copied to your clipboard. Paste it into your preferred application with Ctrl + V.
Option 2: Snipping Tool
You can also press Windows + Shift + S, choose the Window snipping mode, and then select the application window you want to capture.
The Snipping Tool’s window mode is useful when you want a cleaner screenshot without manually dragging around the window boundaries.
How to Screenshot Part of the Screen
One of the biggest advantages of Windows 11’s built-in screenshot tools is the ability to capture only the information you need.
Use Windows + Shift + S
- Press Windows + Shift + S.
- Choose Rectangle or Freeform.
- Click and drag around the area you want.
- Release the mouse button.
- Open the screenshot notification if you want to edit or save it.
Rectangular mode works well for webpages, photos, documents, and error messages. Freeform mode is useful when the object you want to capture doesn’t fit neatly into a rectangle.
This is usually the easiest answer for anyone searching how to screenshot part of the screen on a Windows 11 PC.
How to Take a Screenshot and Save It Automatically
If you want Windows to save a screenshot without requiring you to paste it somewhere first, use:
Windows + PrtScn
Windows saves the full-screen screenshot as a file in:
Pictures > Screenshots
Microsoft’s Windows keyboard shortcut documentation confirms that Windows + PrtScn captures a full-screen screenshot and saves it to the Screenshots subfolder of Pictures.
What if your keyboard doesn’t have a Print Screen key?
Some compact keyboards and laptops use alternate key combinations. Microsoft notes that on some devices you may need to use Fn + Windows logo key + Space Bar when a PrtScn button is not available. Hardware layouts vary, so check the keyboard manufacturer’s documentation when the shortcut doesn’t work.
The Snipping Tool can also automatically save captured snips. Microsoft currently documents an automatic save option and allows users to change the default Screenshots folder from Snipping Tool settings.
Where Are Screenshots Saved in Windows 11?
If you’re wondering where screenshots are saved on Windows 11, start with:
File Explorer > Pictures > Screenshots
That’s the standard folder used by the Windows + PrtScn shortcut.
However, not every screenshot method saves automatically to this folder.
For example, a screenshot copied to the clipboard with PrtScn, Alt + PrtScn, or Windows + Shift + S may need to be pasted into an application or saved from Snipping Tool. Microsoft’s current Snipping Tool also supports automatic saving, and its save location can be changed in the app’s settings.
Quick way to find a saved screenshot
- Press Windows + E to open File Explorer.
- Select Pictures.
- Open Screenshots.
- Look for your latest image.
If you can’t find it there, check the Snipping Tool’s settings or remember whether you used a clipboard-based shortcut instead.
How to Edit or Crop a Screenshot
After capturing a Windows 11 screenshot, you don’t necessarily need another image editor.
Snipping Tool includes basic editing features that let you annotate and crop a screenshot. Microsoft also documents options for drawing, highlighting, adding shapes, erasing annotations, cropping, and extracting text from screenshots.
To crop a screenshot
- Open your screenshot in Snipping Tool.
- Select the Crop option.
- Adjust the edges of the image.
- Confirm the crop.
- Save the edited image.
You can also use Paint for additional editing. For example, you might want to resize an image, add text, or draw a circle around something important.
For simple screenshot editing, Snipping Tool is often enough.
Common Windows 11 Screenshot Problems and How to Fix Them
Sometimes a screenshot shortcut doesn’t work the way you expect. Here are the most common issues.
Print Screen is not working
First, check your keyboard and make sure you’re pressing the correct key. It may be labeled PrtSc, PrtScn, PrntScrn, or something similar.
On some laptops, you may also need to hold the Fn key.
If the key opens screen snipping and you expected it to copy the entire screen, check:
Settings > Accessibility > Keyboard
Windows allows you to change the Print Screen shortcut behavior from this area.
Windows + Shift + S does nothing
Try these steps:
- Press the keys together rather than one at a time.
- Make sure the Windows key is working.
- Search for Snipping Tool from Start and open it manually.
- Restart Windows if the shortcut still doesn’t respond.
- Install available Windows updates if the feature continues to malfunction.
If Snipping Tool itself is missing or damaged, Microsoft recommends getting the app from the Microsoft Store when necessary.
Your screenshot isn’t where you expected
Remember that clipboard-based shortcuts do not always create a file automatically.
For example, Alt + PrtScn copies the active window to the clipboard. You need to paste it somewhere and save it.
For an automatically saved full-screen image, use Windows + PrtScn and check Pictures > Screenshots.
The screenshot looks incomplete
If you are trying to capture a specific application, make sure the desired window is active and fully visible.
For websites or documents that extend beyond the visible screen, a normal screenshot captures what is currently displayed rather than the entire scrollable page. In those situations, you may need an application-specific full-page capture feature or another tool.
Which Windows 11 Screenshot Method Should You Use?
Choosing the right method depends on what you need.
| Method | Best For | Automatically Saved? |
|---|---|---|
| Windows + Shift + S | Part of the screen, a window, or custom area | Depends on Snipping Tool settings |
| PrtScn | Quick clipboard capture or screen snipping | Usually clipboard-based |
| Alt + PrtScn | Active window only | No, clipboard |
| Windows + PrtScn | Full-screen screenshot as a file | Yes |
| Snipping Tool | Capture, edit, crop, annotate, and save | Yes, with current auto-save support |
For most users, Windows + Shift + S is the most flexible option. If you simply need a full-screen image saved as a file, Windows + PrtScn is quicker.
Frequently Asked Questions
How do I take a screenshot on Windows 11?
Press Windows + Shift + S to open the Windows screenshot overlay. Select the area, window, or screen you want to capture. You can then edit, copy, share, or save the screenshot through Snipping Tool.
What is the shortcut for screenshots in Windows 11?
The most useful screenshot shortcut is Windows + Shift + S for selecting an area. Windows + PrtScn captures the entire screen and saves it automatically to the Screenshots folder inside Pictures.
Where are screenshots saved on Windows 11?
Full-screen captures made with Windows + PrtScn are saved in Pictures > Screenshots. Snipping Tool may also save captures automatically, and its screenshot location can be changed in its settings.
How do I screenshot only part of my screen?
Press Windows + Shift + S, choose a rectangular or freeform snip, and then select the area you want to capture.
How do I screenshot a specific window?
Press Windows + Shift + S and choose the Window option, then select the window you want. Alternatively, click the desired window and press Alt + PrtScn to copy the active window to the clipboard.
Why is my Print Screen key not working?
Your keyboard may require the Fn key, or Windows may be configured to use the Print Screen button for screen snipping. Check Settings > Accessibility > Keyboard and verify the Print Screen setting.
Can I take a screenshot without using the Snipping Tool?
Yes. You can use Windows + PrtScn for a full-screen screenshot saved to a file, or Alt + PrtScn to copy the active window.
Can I edit a Windows 11 screenshot after taking it?
Yes. Snipping Tool provides editing options such as cropping, drawing, highlighting, shapes, and other markup tools. You can save the edited screenshot afterward.
Conclusion
Learning how to take a screenshot on Windows 11 doesn’t require any extra software. Windows 11 already includes several simple methods for capturing your screen.
For most situations, Windows + Shift + S is the best shortcut because it lets you select exactly what you want to capture. Use Alt + PrtScn when you only need the active window, and choose Windows + PrtScn when you want a full-screen screenshot saved automatically.
The built-in Snipping Tool Windows 11 app is especially useful when you need to crop, annotate, edit, save, or share your screenshot.
Once you know these shortcuts, taking a Windows 11 screenshot becomes a quick task instead of something you have to think about every time.